To edit how many rows you would like to see on the View All Cases page, all you need to do is manually tell SIPS how many cases you would like to see per page. This feature can be edited on the View All Cases Page. Below is a step-by-step guideline of formatting the rows you see on the View All Cases page.
Step 1: Logging In: Log into SIPS.

Step 2: Go To Your Case List: You can either do this by clicking on the green GoTo Your Case List button or clicking on the Your Case List Subheading located in the upper righthand side of your screen.

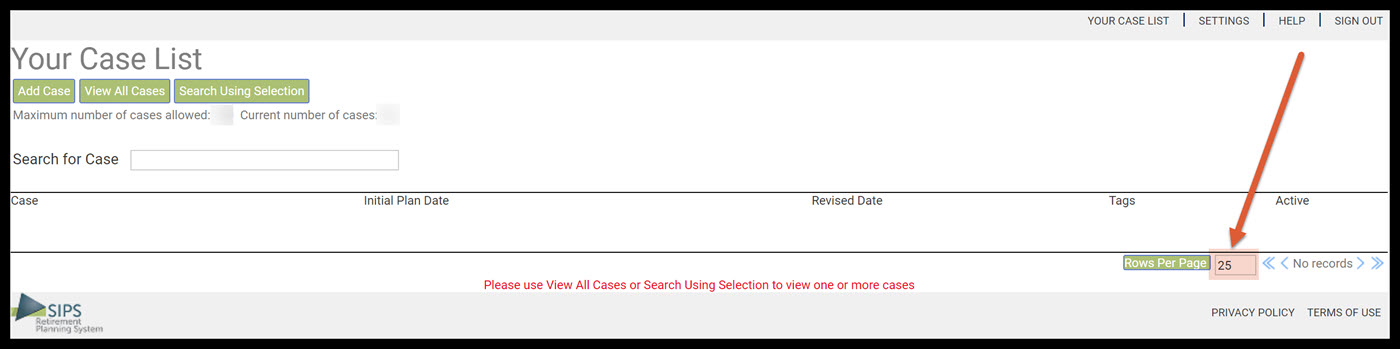
Step 3: Rows Per Page: Delete the numerical number next to the rows per page button. Type in the number of cases you would like to see per page. The default row is set to 25. Once typing in the number click on the rows per page and whatever the numerical number you picked will be how many rows will show up on the screen.
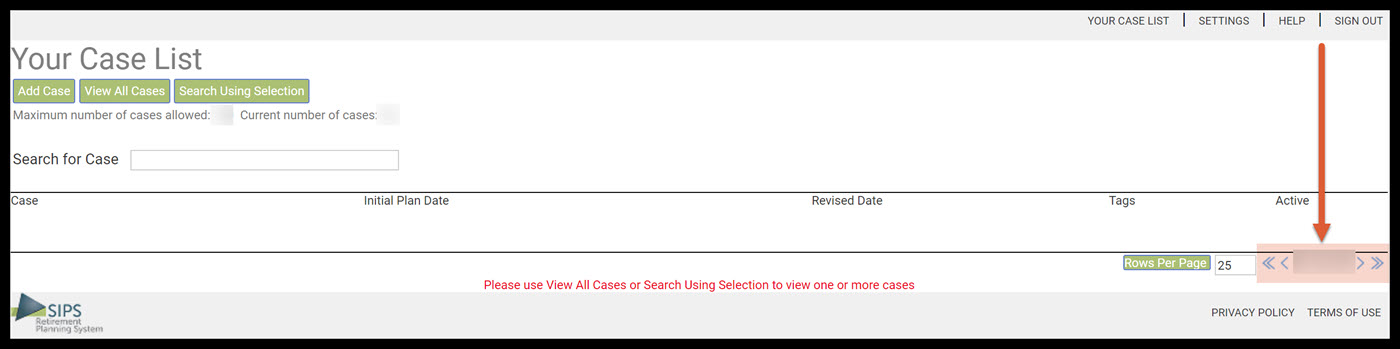
Step 4: Moving Through The Pages: To move backwards through the list use the less than math symbols. The double less than math symbols will take you to the beginning of the list. The single less than symbol will take you back one page. To move forward through the list use the greater than math symbols. The double greater than math symbols will take you forward to the end of the list. The single greater than symbol will take you forward one page through the list.
Step 5: Logout: To sign out of SIPS, click on the Sign Out heading that is located in the upper right-hand side of the screen.

If you feel you need more support or would like to set up demo time with one of our representatives, please contact us at: support@planscout.com
